We are a family of itchy, sensitive skin, so oatmeal skin products are a must have. My favorite brand is Aveeno, they have everything I could want from lotion to creams to bath soaks. While reorganizing my bathroom cabinet I saw I had almost a full box of the Aveeno bath soaks and I had an "aha!" moment. A quick stopping trip to Amazon (I love me some free Prime shipping) and I had everything I needed to make my bath balms.

- 1 cup Baking Soda
- 1 package of instant oatmeal
- 1 package of Aveeno Oatmeal Bath Soak
- 8 Tablespoons of Citric Acid
- 8 Tablespoons of Cornstarch (that's what's in the large bag, I buy it in bulk to use in various craft/bath projects.)
- 8 Tablespoons of a carrier oil. (I used Almond Oil since that's what I had but you should be able to use just about any oil you have.)
- Water or Witch Hazel in a spray bottle (I used water, but I've heard witch hazel is better and won't make your citric acid foam up like the water will. I'll try it next time I make some.)

Place all of your dry ingredients in a large bowl and briefly mix it together to make sure everything is incorporated. Add in your oil and mix well.

Now slowly start adding the water, just a few sprays at a time. Keep in mind that the more wet you make it the longer it will take to dry. You want it damp enough to hold it's shape and that's it.

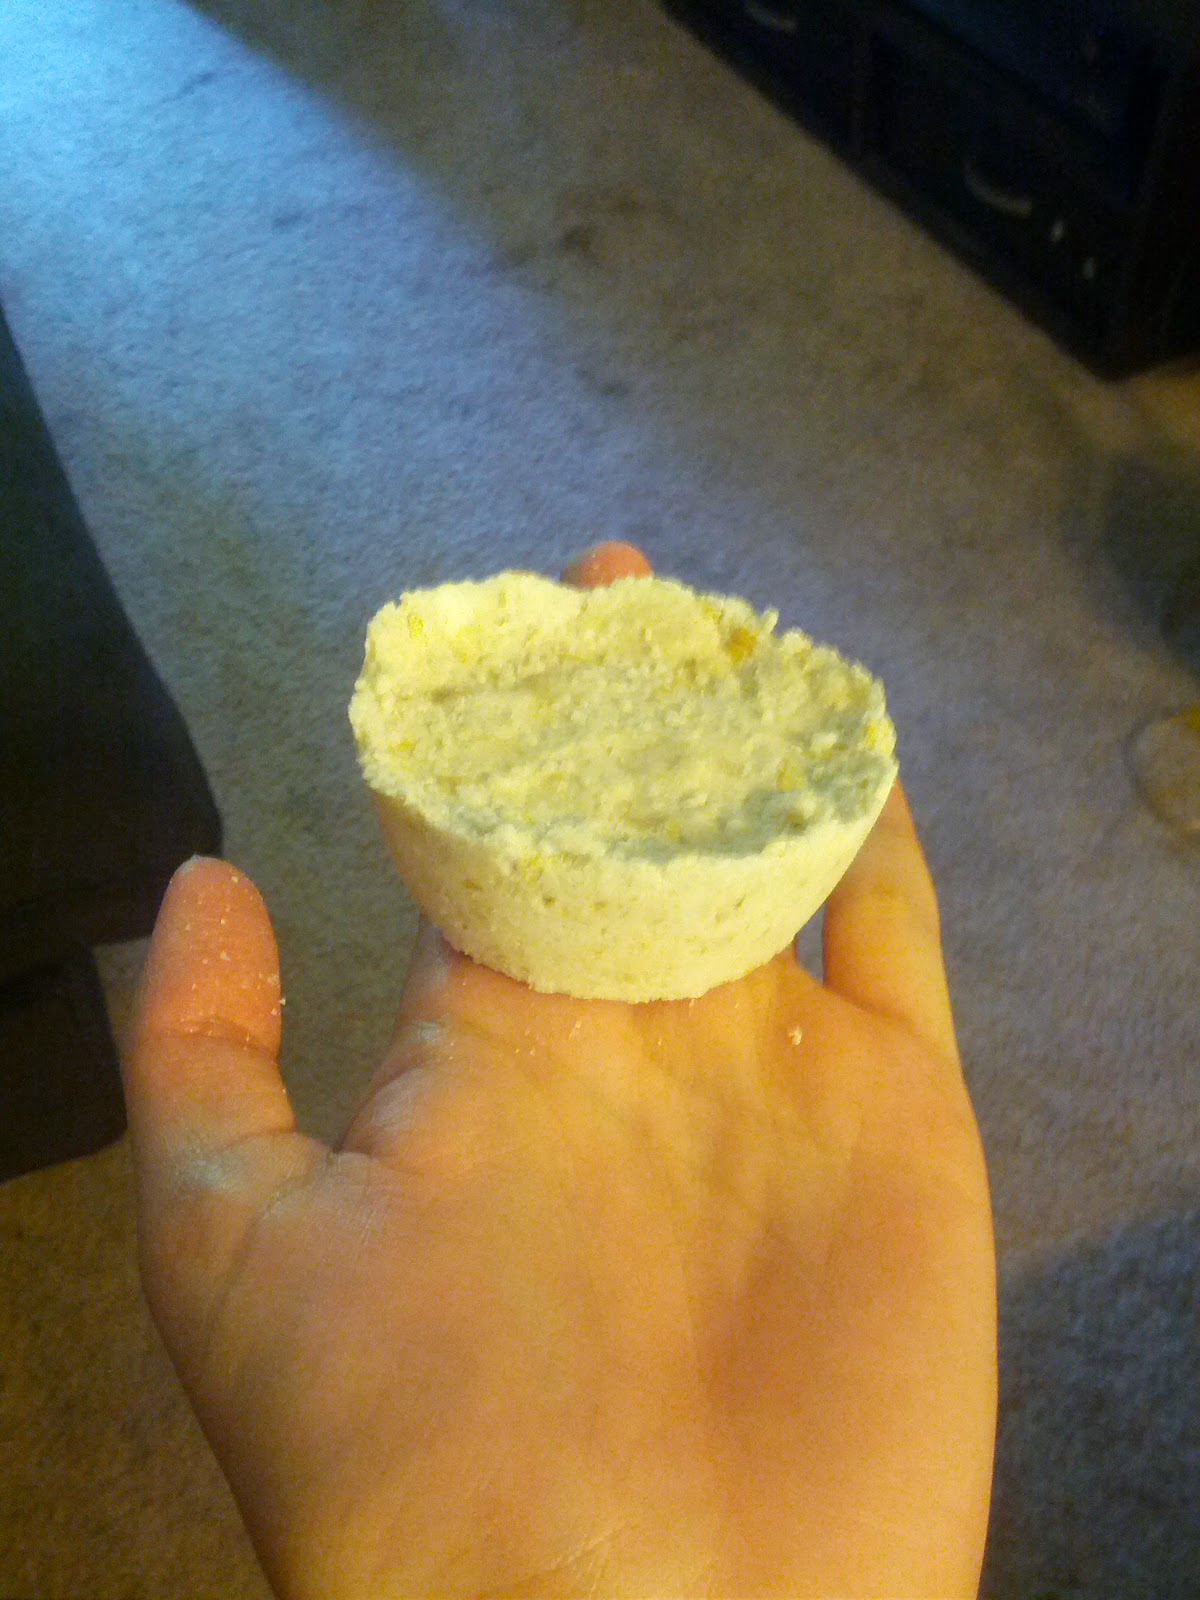
Once it's reached that stage, as mine is in the picture above, you are ready to place it in your molds. Now you can buy molds specifically for bath bombs, but I just used my silicone muffin pan. You could use a standard muffin pan, just line them with cupcake liners first to make it easier to get the finished product out when you are done.

You need to push the mix into the pan as hard as you can, if they are to loose they'll crumble apart when you try to remove them later. My fingers were super sore by the end of this, but none of my bombs fell apart so it was worth it. You'll want to let these dry for about 12 hours, I did mine overnight. If you take them out before they've completely dried they'll fall apart, so patience is important. This made 6 muffin sized pucks, a pretty good amount for 5 minutes of work.
If you let they dry they should pop out easily and hold their shape as well. If I were gifting them I'd clean up the rough edges with a knife, but since these were for personal use I didn't bother. I stored mine in a large mason jar, you can use whatever so long as no moisture can get in.

Just place one in the bath water and watch the fizzies start! A word of note, the oatmeal powder can make your tube slippery so please be careful getting in and out of the tub.
Love it! Thank you will try at home :)
ReplyDelete