Thursday, April 30, 2015

Thursday Thoughts

It's Thursday and I'm still alive (more on that in a minute), so as per my usual I'm linking up with Jen of Ramblings of a Suburban Mom for her weekly Thursday Thoughts link up. Let's get started before I pass back out (only slightly joking).


In case you aren't following me on Facebook (which I highly suggest doing), let me catch you up on why there's been no blog update for two weeks. The Friday after my last post I woke up crazy sick with a sinus infection. Being a responsible adult I immediately ignored it and went about my business. And by business I mean spent the next 3 days so sick I couldn't even get out of bed. By time Tuesday rolled around I had developed a horrible cough and severe ear pain, so I finally made a Wednesday appointment to see my doctor. When the doctor yells "oh my god" when they look in your ear you know you have a horrific ear infection. By that point I was starting to lose my hearing and generally felt like I was dying. Thursday was another so sick I couldn't get out of bed day. By Friday I had lost 90% of my hearing out of both ears and almost half of my face was numb, which meant I spent the day at Urgent Care. I'm currently on 3 different antibiotics and I was on Prednisone for a bit, and as of when I wrote this post I have about half of my hearing. I don't think I need to say how hard these two weeks have, and the waiting game to see if all of my hearing will come back is taking a toll on me. I will be blogging again, so there shouldn't be any more gaps, but they may not be the longest or nicely edited posts ever for a bit. Thank you for your understanding and patience as I wrestle with this.


Now onto less depressing things, like free lipstick! I finally went to my local Sephora and picked up my free birthday gift, which is two Nars lip crayons (one red one pink). I'll do a full review on this and the eyeliner gift from Ulta, but I have to say I'm pretty disappointed in this years birthday freebies. A lot of places switched to "free with purchase" gifts this year, which was a bummer.


I've been playing around with some face painting lately, which has been super fun. This was a cracked face design I did a bit ago. These are super fun to do and I'm wondering if anybody would be interested in tutorials on different looks? They'd have to be blog posts, my YouTube plans are on hold till my hearing is fully returned.


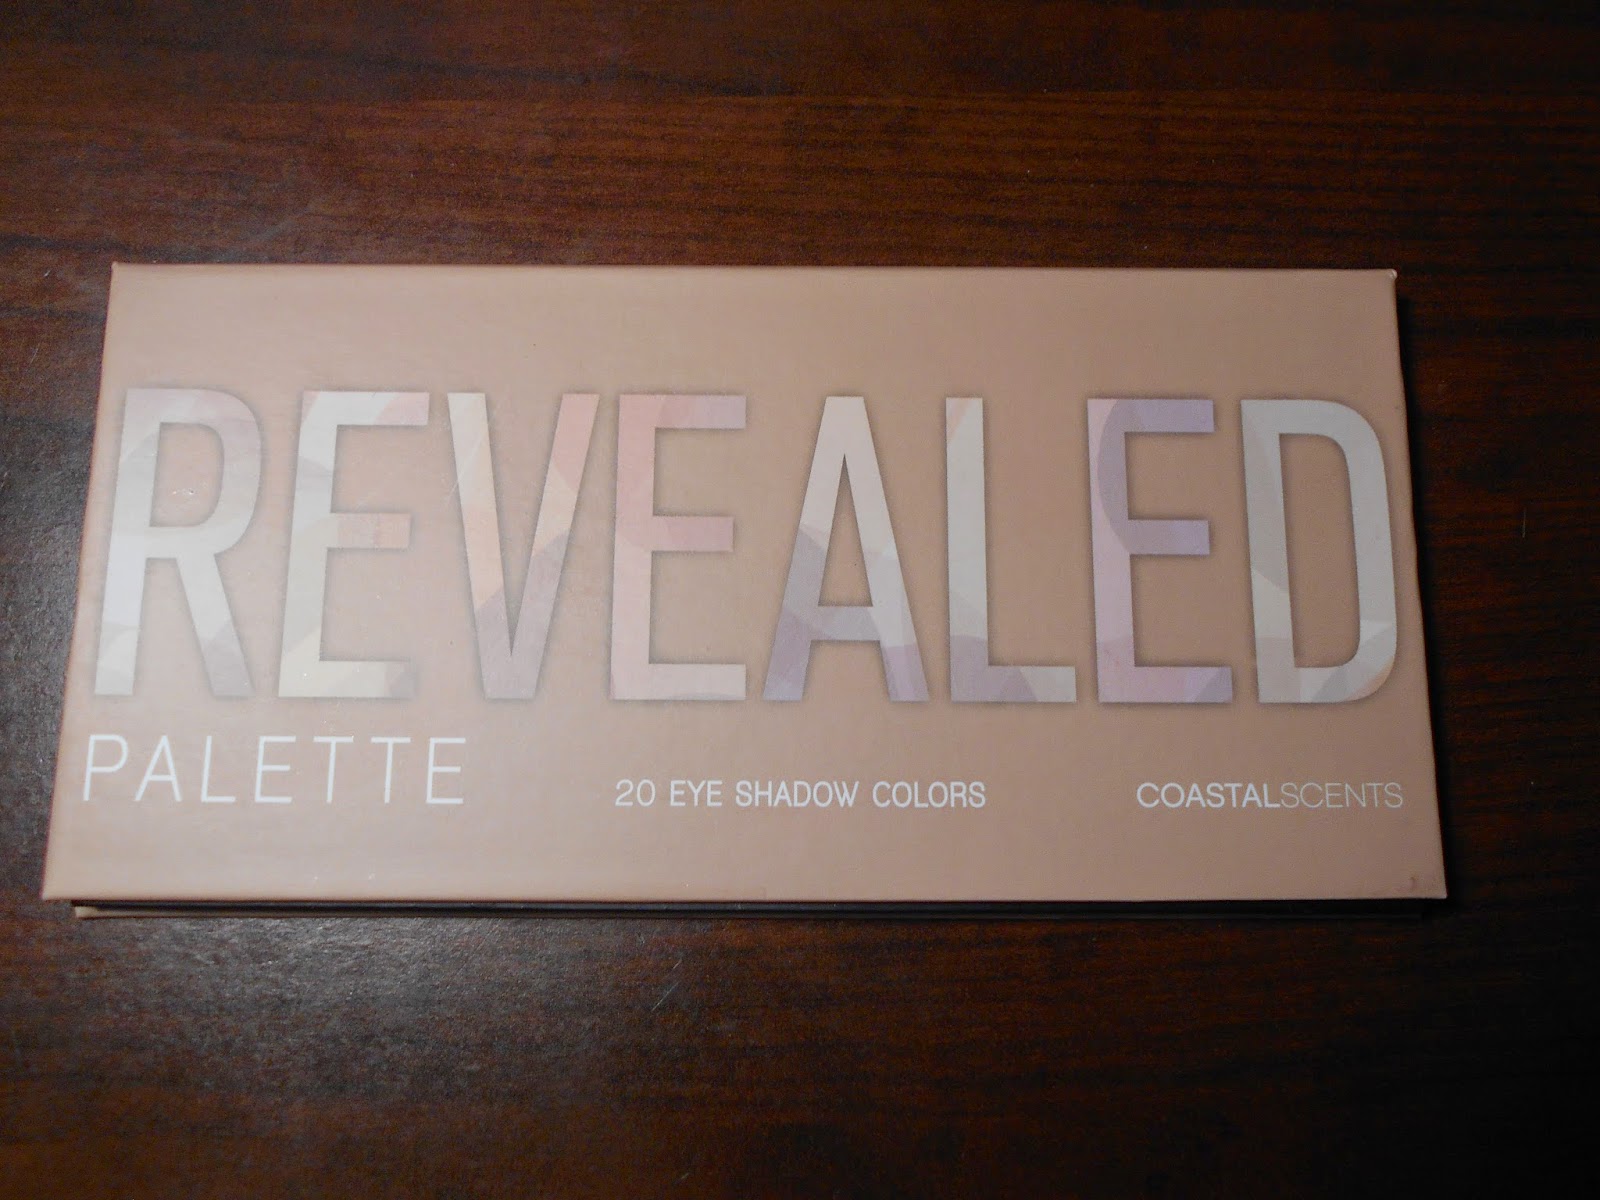
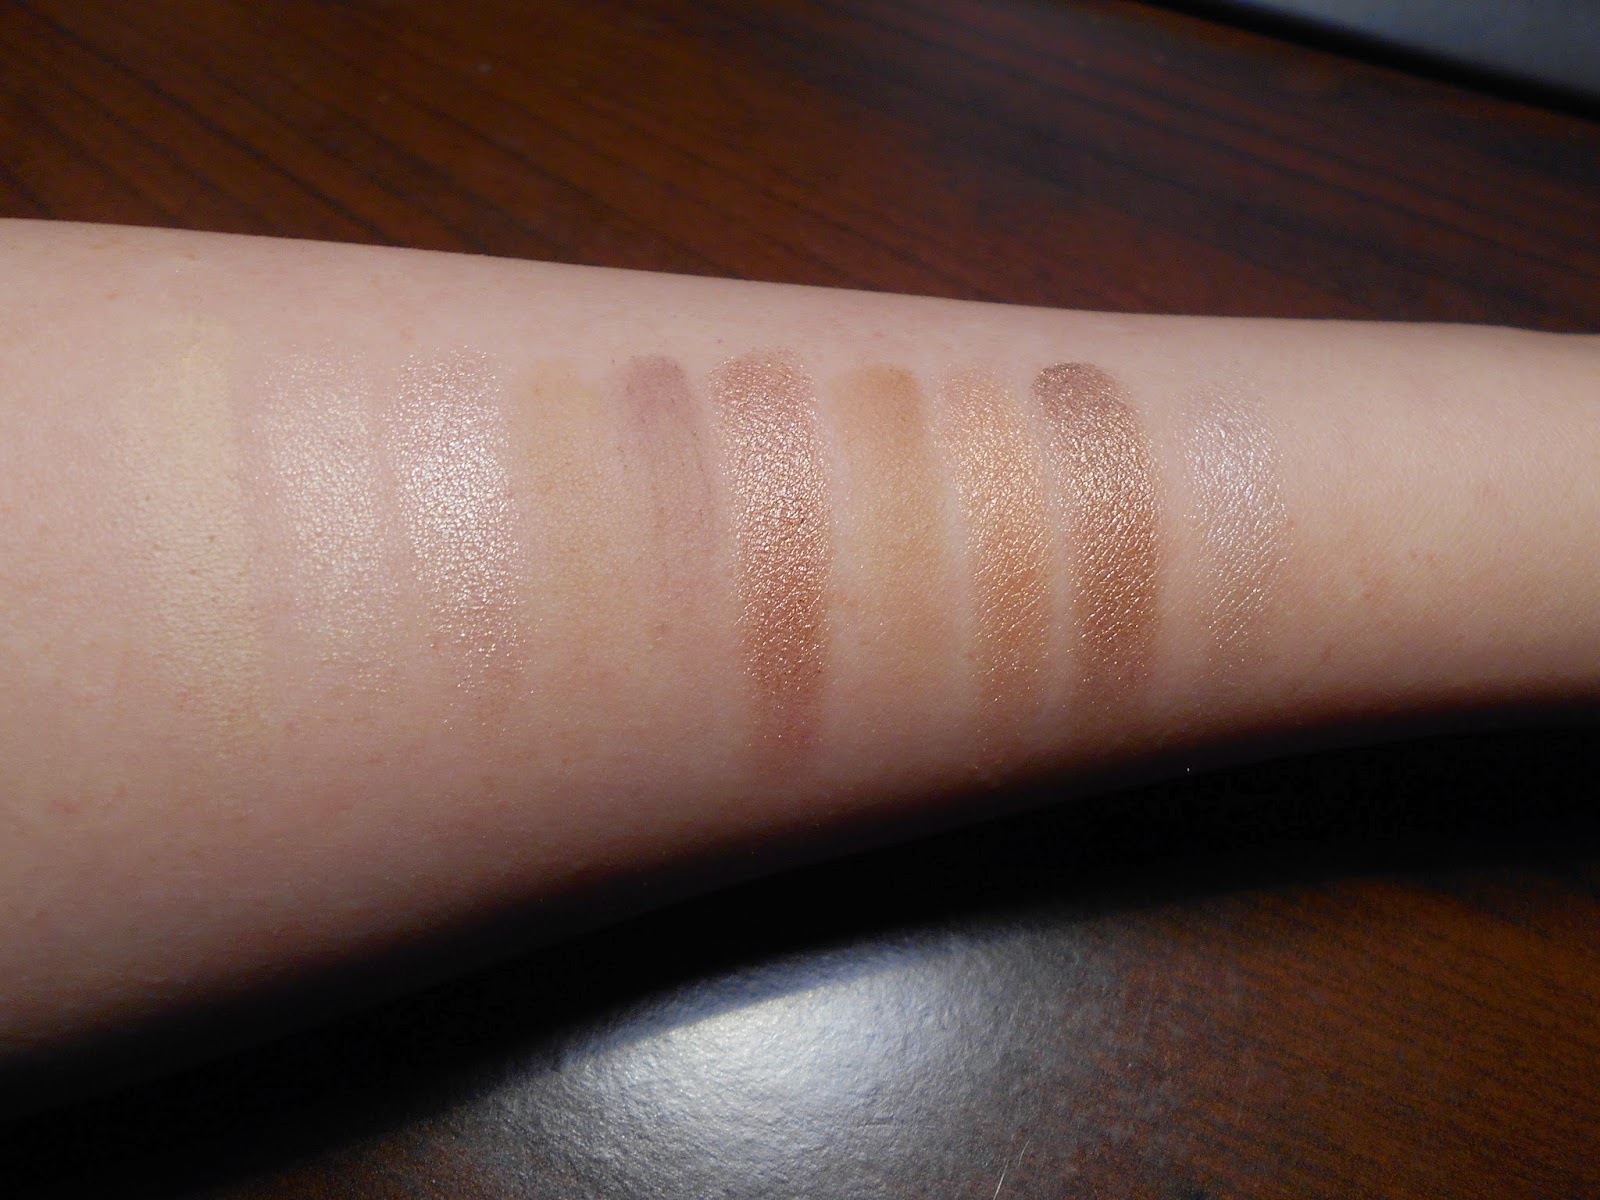
Right before I got sick I had one of the worst things that can happen to a makeup collector happen. I dropped a palette and it shattered. All of that pan minus one is from the palette dropping. Luckily this is a fairly cheap palette, I can't imagine how horrible it would be to drop one of the more expensive palettes out there like the Urban Decay Naked set. What's the worst broken makeup you've ever experienced?

In blog related news, sometime while I was out sick the blog hit 10,000 page views!! I can't even begin to express how grateful I am for every single one of you who read this little blog. Thank you from the bottom of my heart. Once I'm better I'll have to plan some sort of event to celebrate.

Thursday, April 16, 2015

Thursday Thoughts

Its Thursday and you know what that means! Time for my weekly link up with Jen of Ramblings of a Suburban Mom for her Thursday Thoughts. Let's get this show on the road!


Remember me talking a few weeks ago about entering one of my Tutorial Tuesday projects in a craft contest? Well I won! Pretty damn excited about that, feeling awesome and crafty. The prize was a $50 Amazon gift card which I promptly used to buy a brush set I've been eyeballing for a while now. Which arrived just as I was pulling away to go to work yesterday so I haven't gotten to play with it yet. But expect lots of pictures on Instagram and I'll blog about them later. Yay new brushes!


My son's birthday party was last weekend and let me just say I am a small child party planning pro. And a cake sculpting whiz. This is the Gup-A from Octonauts, his current favorite show. Took about 5 hours to bake all the bake and then carve and frost it, but I think it looks pretty good for not actually being a professional or even having any sort of training. Although doing several big events back to back has left me super burned out so I'm taking a me week. And am getting a sinus infection. Joy.


How do you guys organize your makeup? I had been using just the 3-drawer thing in the middle of the top shelf, but my wonderful husband bought me the two clear and green containers for my birthday. So now I have face stuff, eye stuff, and lip stuff all separated out. Now I have room to buy more makeup again, which is both a good thing and a bad thing. The new containers are Sterilite for those interested. The 3-drawer and the clear caddy on the bottom shelf are from the container store, though I've seen them on Amazon for around $30. Bottom shelf is mainly skin care and hair care stuff, plus a spot for some brushes though most of them I keep on my bathroom counter.


Did a wee little Ulta haul over the weekend as well, I had a birthday freebie to pick up. This season's Ulta freebie is a travel sized Urban Decay eyeliner in voodoo, which is a bright and glittery purple (swatches and full review coming up later this month). I'll be picking up the rest of my birthday freebies this weekend I believe, and another small Ulta haul since Maybelline is 40% this month. What Maybelline products are a must have for you? Love their Dream Fresh BB Cream, can't live without that.


Wednesday, April 15, 2015

April Mad Men Birchbox

As someone who is not Ace yet AND lives on the West Coast I'm usually in the last group to get the pick your sample emails from Birchbox. So imagine my complete surprise when I was able to actually get one of the amazing curated boxes this month. I'm pretty sure I got in through some glitch in the system, but I am not complaining at all. The New York Mad Men box may take the place as my favorite box of all time, so let's dig into it. And as a note, I won't be doing value totals on this because it was a curated box. The value is more in the collection of items that the monetary amount present.


First, let's talk about how stunning the box is. The actual monthly boxes were a Rifle and Co design that was super pretty as well, but I love this design. I'd love one whole accent wall of this pattern, like in a vanity room or that walk in closet I always dream about. Not really invoking Mad Men, but still very pretty.


That is a full first look! I'm really happy with all the sample sizes this month, as you can see there was barely any spare room in my box. I'd love to see Birchbox doing bigger samples more often, but I know they don't really control that.


This is the reason I wanted this box, I saw the Cargo Swimmables Water Resistant blush in the shade Los Cabos in some boxes last month and I knew I had to get my hands on it.


Peachy colored blushes look amazing on my skin tone and with humid weather quickly approaching I was super intrigued by the water resistant properties of this blush.


The swatch is gorgeous, isn't it? I've actually only worn it once (trying to finish another blush up for my Project Pan), but I was very impressed by how well it lasted. I didn't notice any real fading despite the fact that I had been running around for hours at that point. I'm excited to try it on some humid or sweaty days. And can we talk about how cute the little tin is? Sooo cute!


Another item I really wanted to try, this is the Beauty Protector hair oil. I cannot live without my Beauty Protector spray so I've been dying to try this for months now. Instead of a review though, here is a little story for you on why small children can be pains sometimes. I used this one night on the tips of my dry hair and after oohing and aaahing over how shiny and amazing my hair looked I put this little tube of liquid gold into my skincare/hair care caddy. Fast forward to the next time I washed my hair and I went to grab this so I could see how it worked on wet hair. And it is gone. I pull every single tube and bottle out of that caddy and no sign of it anywhere. I check my bathroom counter, nothing. I even check behind the toilet. This tube is gone. But I remember a certain 4 year old very fascinated with Mommy's new Birchbox. I'm 100% sure I will find this tube hidden in a toy box somewhere.


I actually received a Whish shaving cream in like my very first box, so I was excited to get another tube. A full size bottle is like $20, so about $15 over what I want to pay for shaving cream, even if it is really nice shaving cream. But there are MAJOR differences between the tube I just got and the one I got last fall. First, the previous tube had enough in it I got 2.5 full uses out of it. This one had barely enough to do my legs once. That's a major difference in quality control right there. This is the Blueberry scent, which made me feel physically ill by time I had finished shaving. Last time I got the Acai Grapefruit scent, which I loved and would get if it wasn't so expensive. And I felt like this scent dried my skin out quite a bit, which the previous tube didn't do. If I had received this tube first I would have written the Whish brand off completely. Very disappointed.


Liz Earle is a brand I've heard tons about, so getting a huge bottle of one of their products was awesome. That's 1.6 fluid ounces right there, that's a giant bottle as far as Birchbox samples go. This is an eye soothing "lotion", though it is more of a soothing water. It is suppose to depuff eyes, soothe them, remove makeup residue, and brighten them. And I actually have to agree with that assessment, I was very surprised as how well this performed. Allergy season is upon us and this has really rescued my puffy, itchy eyes at the end of the day. I may actually buy a full sized one, which is $25 for a 5 fluid ounce bottle. The scent remind me of wet cardboard, but in a good way if that makes sense. I just really love this even if it is so not a lotion.


And lastly, another awesome item. This is an Anastasia Beverly Hills clear eyebrow gel, which is like Aquanet for your unruly eyebrows. I typically do my brows, but sometimes I either don't have time to do them but still want to smooth them out. This stuff lasts all day, even through teaching multiple Taekwondo classes. And because it's clear you look really natural wearing this. While I won't be buying a full sized one ($22, isn't that ridiculous?!?!), I will be looking for a good dupe in a more budget friendly range.

Minus the shaving cream, this was an amazing box. I found new items I absolutely love and can't live without, which is what I want from Birchbox. I did miss the mystery of not knowing what I'm getting, so unless another curated box is amazing like this one I'll probably pass on them from now on. I already can't wait to see what's in my May Birchbox, maybe I should start a second subscription so I can get double the fun. If you got a Birchbox this month, what did you think of it?

Tuesday, April 14, 2015

How To Make Your Own Cream Blush

Back in January I showed you guys how to make your own Tinted Moisturizer, so today I thought I'd show you how to make your own cream blush. While this isn't the most practical of all DIYs, it's still fun and who doesn't love playing with makeup? So with that, let's get started!


To do this tutorial you will need:

  • A powder blush. I'm using the LA Colors blush I bought to do this tutorial
  • A facial lotion. I have no idea which brand I used, my label came off. Oops
  • A small bowl and a knife for mixing
  • A small container to store it in.

First you need to crush up your blush. I don't want to make a ton at a time so I only broke up a fifth of the blush. This was I won't make more than I can use before it goes bad. Place the broken blush in your bowl.


Now to add the lotion. The more you add the sheerer the blush will be. I started out with just a teaspoon to mach the teaspoon of blush powder but that was too thick so I ended up adding a tablespoon of face lotion total.


The powder takes a bit to incorporate into the lotion, so just keep mixing and mixing. After a few minutes it should finally be coming together. Keep stirring until there are no chunks and it looks pretty even. You now have a cream blush!


As you can see, mine is sheerer than most store bought blushes, and because of the specific blush I used there's a significant amount of shimmer. I would like to point out that the blush I used is not as pigmented as most blushes so that's probably why the cream blush is light. I may use this as a cream highlighter instead of a straight blush, I really like how it looks when I blended it out a bit.

Monday, April 13, 2015

Marbled Nails 2 ways

I think most people can agree that while water marbled nails look awesome, they take forever and a half to do. After a bit of thinking I've come up with two non-water marbling techniques you can use to achieve the same look in a fraction of the time. And the key ingredient? Saran Wrap. Let's get started.


To do this manicure you will need:

  • Base color. I'm using a Sally Hansen polish in the shade White On
  • Accent color. I'm using a Ulta polish in the shade Hot Spot
  • Clear top coat. I'm using an Ula brand one again
  • A small piece of saran wrap
  • Nail polish remover and q-tips to clean up your edges
Regular Marbled Look:


First, apply your base color. Typically you need two layers to get a nice and opaque look, so check your polish after the first layer and see where you are at. Let dry completely before moving onto the next step.


Add a drop of your accent color to a piece of paper and dip your saran wrap (crumpled up) into it a few times to pick up the polish in different spots. Now stamp the saran wrap onto your nails gently, rotating the wrap each time to keep a pattern from forming. Apply as much or as little of the color as you want. You can even go back over with another color if you want more to the look.

Top with clear top coat then clean all the excess polish off your finger.

Textured Marbled Look:


First, apply your base color. Typically you need two layers to get a nice and opaque look, so check your polish after the first layer and see where you are at. Let dry completely before moving onto the next step.


Now put a few little dots of the accent color onto the nail you are working on. Lay your saran wrap down onto the nail (don't worry about keeping it flat), then smoosh the polish around with your finger gently. Peel the saran wrap up, rotate, then repeat the process again. Repeat again for a third time and you should have a textured marbled look.

Top with clear top coat then clean all the excess polish off your finger.


Friday, April 10, 2015

The Most Expensive Mascara To Ever Touch My Face

*I received this product free from Influenster for testing/reviewing purposes. All opinions are my own*

I will be the first to admit I prefer my makeup on the cheaper side. I've never bought a bottle of $40 foundation, no $50 blush is sitting in my bathroom, and I have never in my life spent more than $10 on a tube of mascara. My current favorite mascara is under $5, so as you can imagine being given a free tube of one of the most expensive mascaras on the market for free is kind of a big deal. I may have called my Grandma to tell her about it, I was that excited. I'm of course talking about the Yves Saint Laurent MASCARA VOLUME EFFET FAUX CILS, which retails for $32 on the Sephora website. This mascara is suppose to make your lashes look longer and fuller, like you are wearing high drama falsies. Shall we see if it lives up to the hype AND the price tag?


First, I'd like to say this is the prettiest tube of mascara I've ever seen. The multi-tones metal tube is really lovely and makes my makeup bag feel a bit fancier than normal. The tube itself is heavy because of the metal, but I like the weight in my hand. And in a pinch I can throw it across the room and knock someone out! Another luxury point is the scented formula. Instead of the usual mascara smell (or the burning rubber smell of the world's worst mascara), this has a pretty strong floral scent. This can be a negative for people sensitive to perfumes, so please keep that in mind if you are looking to purchase this. It is not strong enough for me to smell it when it's already applied but I can smell it as I am applying it.


The brush reminds me a bit of the Better Than Sex mascara by Too Faced, each section of bristles is packed with bristles. The brush makes this virtually impossible to get clumpy, tarantula legged lashes, so I really really like that. Clumpy eyelashes are an instant deal breaker for me, I can't stand it. Even when I piled on layer after layer the brush really pulled through and kept my lashes looking like, well...lashes.


The formula itself is black and waterproof and that's about it. It did not make my lashes fuller looking, or even any longer than they already are. You can barely tell the difference between my lashes with this mascara and my lashes without the mascara. Honestly, I'm pretty disappointed that I didn't see better results. Even when I piled the layers on it never gave me that false eyelash look. My $5 mascara performs way better in that department. There was never any flaking though, which is nice when I'm working all day long. Black flakes all over your face will never be in style, sorry crappy mascaras.

Overall I'd call this a really average mascara with a fantastic brush. Would I pay $32 for a new tube? Not a chance. I wouldn't even pay over $20 for it. But for under $20 I'd give it some serious thought. I think Yves Saint Laurent is banking on their brand name here, and that just doesn't cut it in my book. If you have the money to spend $32 on an average mascara go right ahead, for everybody else I'd recommend giving this mascara a pass.

Thursday, April 9, 2015

Thursday Thoughts

Its Thursday and you know what that means! Time for my weekly link up with Jen of Ramblings of a Suburban Mom for her Thursday Thoughts. Shall we get started?


My birthday (and my son's) is this Saturday! While I'm not excited to be another year older I am excited for my birthday freebies this year. The Nars lip crayons from Sephora look so nice, can't wait to get my hands on those. I finally found out what Ulta's April/May/Jun gift is, a travel sized Urban Decay 24/7 eyeliner in the shade Voodoo! Super happy about that! Though I haven't gotten any of the actual certificates yet, which is a bit odd. Last year they all came in that first week of April, so I'm a bit nervous that something has gone wrong. I will update you guys next week on how everything worked out.


My Birchbox came yesterday, which is a new record for how quickly it arrived. It was not only shipped before Easter but it only took 6 days instead of the usual 10 to get to me. I'm super impressed by that, more than makes up for the slow shipping the last two months due to weather. And can we talk about how pretty this box is? Wouldn't that be pretty wallpaper on just one wall of a vanity room? This is the NY Mad Men box, which is my first curated box. Expect a review sometime next week.

I'll be doing a largish haul from Ulta this month and maybe an actual Sephora haul (teenie one, Sephora is a bit expensive) as well. I keep saying to myself that I need to finish stuff before I buy more stuff but I'm weak willed and need some of the new stuff that's come out lately. Like the new Freeman masks and that NYX contour palette. I can survive off of lipstick right?

Speaking of buying stuff at Ulta, I'm dying my hair again this month. The last color was gorgeous but faded super fast, so I'll be picking a different brand this time. And maybe a redder color. Wonder if I can get away with blood red at work.

Wednesday, April 8, 2015

Rimmel Stay Matte Foundation and Powder

While reorganizing my makeup drawers the other day I realized I have never talked about the foundation I am currently using. I've talked about the BB Cream I love and adore, but not the actual foundation I've been using. Or even the powder I currently love. Which is a problem I had to rectify as soon as possible. I feel like personal likes count more than some of the other reviews I do, at least from the reader point of view. And while the fun and fancy (aka expensive) foundations and BB creams I get from Birchbox are fun to use and review, this blog is about the best beauty products out there that don't cost a fortune.


Like most people, I have oily skin so I typically actively do things to keep my face from looking like I smeared Vaseline on it. That means I like matte products, and I think the most well known matte products (of the drugstore price range) are the Rimmel Stay Matte foundations and powders. These are a highly affordable set, each costing just $4.99 at Ulta. That's the cost of a large coffee at Starbucks, so well withing my preferred budget. The foundation comes in 6 colors, though they are all on the lighter side. Sorry to my dark complexion readers, hopefully Rimmel will come out with more colors in the future. The powder comes in 8 colors, one of which is transparent so a little more color options there, though again nothing that would be suited for a dark skinned individual.


The powder is a favorite of mine, as you can tell by the decent amount of pan showing. The shade I'm using is 020 Nude Beige, and I think it suits me pretty well. I wear this powder with whatever foundation or BB cream I'm wearing, and I love how it mattifies me right up. It also helps lock my makeup in place, I notice a huge difference in how much my foundation slips around when I don't use this. If applied to heavily it will leave you looking a bit cakey, I've found a stiff but fluffy brush to be my favorite to apply it with. I think my biggest complaint is the cheap packaging, my lid is pretty cracked up around the edges. While I understand that better packaging will drive the price up I don't want to buy a new one because my whole case shattered and my makeup is unusable. And yes, I could depot it into a palette but I think a company should think about the types of wear and tear their product will face when picking out packaging.


The Stay Matte foundation (in the shade 100 Ivory) is actually my Fall/Winter/taking pictures foundation, it is just a bit to heavy for warmer/humid weather. While it says lightweight on the tube, this is a heavier foundation with full coverage. Even without a powder topper it does a really good job of mattifying my skin, and because of the full coverage I rarely have to use concealer. But as I said, it is pretty heavy. You need to apply is carefully and evenly to avoid that cakey look we all try to avoid. I actually prefer to use a stippling brush to apply it, but I imagine a Beauty Blender would apply it wonderfully.


Straight out of the tube you can see how thick it is, I never worry about it pouring off my hand while I apply it. I recommend using a primer with this foundation as well, it can be a little difficult to apply smoothly without it.


As you can see, even without powder it mattes my hand and does a fantastic job evening out my skin tone and hiding things like small scars and my veins.


And here is foundation topped with the powder. Super matte. Enough so that is you over apply it can make you look quite dry, as again I recommend a soft hand while applying these. While I have my complaints about the two, I do like them. I adore the powder and will for sure buy another when this is empty. And while I like the foundation I feel like I can find a better fit for my skin so I'll try something different once this is empty. I do recommend them though and for $4.99 each you can risk trying them out.

Monday, April 6, 2015

Fancy Mani For My Birthday

This Saturday is my Birthday and I thought it would be fun to do a fancier than normal manicure to celebrate. I did a little bit of 3D nail art this time, which is not something I usually do. So Happy Birthday to me (and my son, who was born on my Birthday) and let's get started shall we?


To do this tutorial you will need:

  • A base color. I used Ulta brand polish in the shade Peach Parfait, which is a lovely creamy coral color
  • An accent color. I used Ulta brand polish in the shade Mint Condition, which is a pretty sky blue
  • 10 small rhinestones, I chose clear ones but you can use a colored one if you want. These are available at any craft store.
  • Tweezers
  • A small paint brush
  • Nail polish remover and q-tips to clean up the edges
  • Clear top coat. I used my Ulta brand one.

Step one, as almost always, is to apply a few coats of your base color. I ended up doing 3 thicker coats with the shade I picked, it just wasn't as opaque as I wanted it to be. Let this dry completely before moving onto the next step.


Now you can do this next step two ways. You can tape off your nails with masking tape to create that perfect triangle, paint it in, then remove the tape. Or you can carefully with a thin brush hand paint in the triangle with your accent color. I used the brush, I like the more organic feel of the softer lines you get when you paint by hand. Let this dry completely before you move onto the next step.


You are going to apply one coat of top coat to your nails to act as a glue for the rhinestone. Using your tweezers pick up and position the gem right at the top of the triangle. Do this to all your nails. Let it dry carefully without bumping the gems at all.


Now apply a few more coats of the clear polish on top to really cement the gems down and protect all of your hard work. Clean up any over paint with the nail polish remover and you are done! I love the colors I picked, they feel so Spring time to me and the rhinestones make me feel super fancy. I'm guessing I'll be getting a ton of compliments on this manicure all week, and I hope you enjoy yours as much as I'm enjoying mine.

Saturday, April 4, 2015

Coastal Scents Revealed Palette


I've been talking about wanting the original Revealed palette for months and months and months it seems, but I just kept putting it off for some reason. Well I finally bit the bullet and bought it! I already owned and LOVED the Revealed 2 palette, plus I wear neutral makeup pretty often for work so I figured the Revealed palette would be the perfect addition to my makeup collection. For those who haven't heard of the Revealed palettes before, they are created by the brand Coastal Scents (available online only) and are toted as being almost perfect dupes for the Urban Decay Naked Palettes. Revealed is a dupe for both Naked 1 and Naked 2, while Revealed 3 is a dupe for Naked 3. The Revealed palettes retail for $19.95, making them quite the deal compared to the $50+ Naked palettes. I personally do not own the Naked palettes so I can't do a side by side comparison but there are tons and tons of them out there and the result are unanimous, they are dupes.


The palettes are made out of coated cardboard, so not the sturdiest case out there but I don't really mind. I'd rather save money than spend it on "fancy" packaging. There is a magnetic closure on it and so far I haven't had a problem with the lip popping open on either of my palettes. Within the palette there are 20 different colors, Only 4 of them are mattes, the rest are shimmery. So far I've used the matte colors as my transition shades, they're all a bit on the lighter side. If you are a matte eyeshadow fan this is not the palette for you.


Here's a closer look at the shades, sorry for the lighting my camera was being really weird the day I took pictures. Minus the blue, the black, and a pinkish color all the shades in this palette are some variation on brown. I'm not saying that's a bad thing, its just a little boring for a palette of 20 shades. But I guess if you are doing a neutral palette it will be pretty much all browns, so I can't really complain.


These are the swatches from the top row, done on bare skin with no primer. The first 4 shades are barely visible, after that it picks up till the very last shade which is again barely visible. Part of it is that these are lighter colors, so I expect them to be lighter on my skin. With a primer these are much better, but none of them are really meant to be an in your face color.


The second row did much better as far as visibility and pigmentation. I really liked this row of colors, they are gorgeous neutral shades and exactly what I wanted. The black has some fine glitter in it, but you don't really notice it enough to worry about it. It is almost matte black, which was a good inclusion in the palette. I like it for the outer corner of my eyes to add some depth if I want a more dramatic look.

While I don't like this palette as much as the Revealed 2 I still think this is a great palette and perfect for those wanting a great selection of neutral shades or who don't want to fork over $100 to get Naked 1 and 2. There is also a Revealed 3 but I probably won't pick it up, the colors just aren't calling to me right now. Do you own any of the Revealed palettes? What do you think of them?

Friday, April 3, 2015

Massive NYX Round Case Lipstick Review and Swatches


I love lipstick. Lipstick is one of those magical makeup items that instantly makes me feel and look better. It is really hard not to feel powerful and sexy in my favorite red. As a result, I own a ton of lipstick and am constantly buying more, much to the annoyance of my husband who seems to think he should get bathroom space too. NYX is a company I actually hadn't really investigated previous to the giant haul of lipsticks I'm about to review (if you want to see swatches on my lips, follow my Instagram where I'll be posting a few pictures a day), which is weird since they are such an affordable company you think I'd own every single product. I may own all of their products eventually though, I've fallen completely in love with the company. These lipsticks were only $3.99 each, which is the perfect price point for me, and Ulta almost always has a NYX sale going on so I actually got all 10 lipsticks for under $20.


These three are some of my favorites out of the ten I bought. The order goes from left to right so the first swatch is Violet Ray, a nice a vampy reddish color. This may be my favorite out of all of them, it looks so nice on me and is a fabulous Fall/Winter color. The middle swatch is Chloe, a bright pink with a blue sheen to it. The picture does not do it justice you guys, it is so pretty and multidimensional in real life. This is my "pick me up" color when I really look tired and beat up. The last shade is Snow White, a darker red that borders on being a brick red. This is in a tie with Violet Ray as my favorite color, it might just be the perfect red for me. Not to bright, not to yellow, it is definitely something Snow White would have worn.


These three are what I'm calling my Spring/Summer colors. They don't really work for dreary Oregon weather but by mid-May I'll be rocking these everyday. First up on the left we have Margarita, a frosted pinkish coral. If I had to pick a least favorite out of the set this would be it, the frosted finish doesn't quite do it for me, though I don't hate it. Just not a favorite. The middle swatch is Blush, a pretty but fairly basic pink. If you just want a plain, non-shimmery pink this is a good one for you. And lastly on the right, we have Rose, a bright shimmery coral color. This is the quintessential Summer color, I can see myself wearing it quite often.


These I actually had to double check I hadn't bought two of the same color when I first swatched them. They are so close that I'd call them a dupe for each other. Chaos is pinker in the tube, whereas Chic Red looks like a straight red. Both have the same satin finish as well. A little disappointed in NYX for having two shades that close, but when you offer as many shades as they do you are bound to get some close dupes.


If you were alive in the late 90's to early 2000's you may recognize the shade on the left as being a super popular color produced by Wet and Wild. I use to wear that shade all the time so when I saw that NYX had a frosted lilac color I had to snag it up for nostalgia purposes. Castle is such a teenage me color, I love it more than I'm willing to admit. B52 is a bit more muted than it looks in the picture, I'd call it a close dupe to the Kylie Jenner lip color everyone went bat shit over last month. I like that its a nice neutral color I can wear with almost any look I want. I wear it quite a bit to work on days I'm digging a low maintenance makeup look.

Overall I've really liked all of the lipsticks I purchased from NYX. If I had to list one complaint it would be the overly strong scent that some of the frosted shades have. All of the lipsticks are scented, kind of a perfumed flower sort of scent, but the frosted ones seems to be much stronger than the other finishes, but that isn't a deal breaker for me. If you are looking to expand your lipstick collection but have a small budget like I do then I highly recommend this line of lipsticks. At $3.99 a piece you can afford to get two or ten. Which of these shades was your favorite?