For this manicure you'll need:
- Two colors for the cupcake liner. I picked a robin's egg blue and a violet purple for mine
- A white nail polish for the frosting. I actually own no white polish so I used a pearl color
- A red polish
- nail art dotter, tooth picks, or a very small brush. I used a toothpick this time.
- Clear top coat to protect your work of art
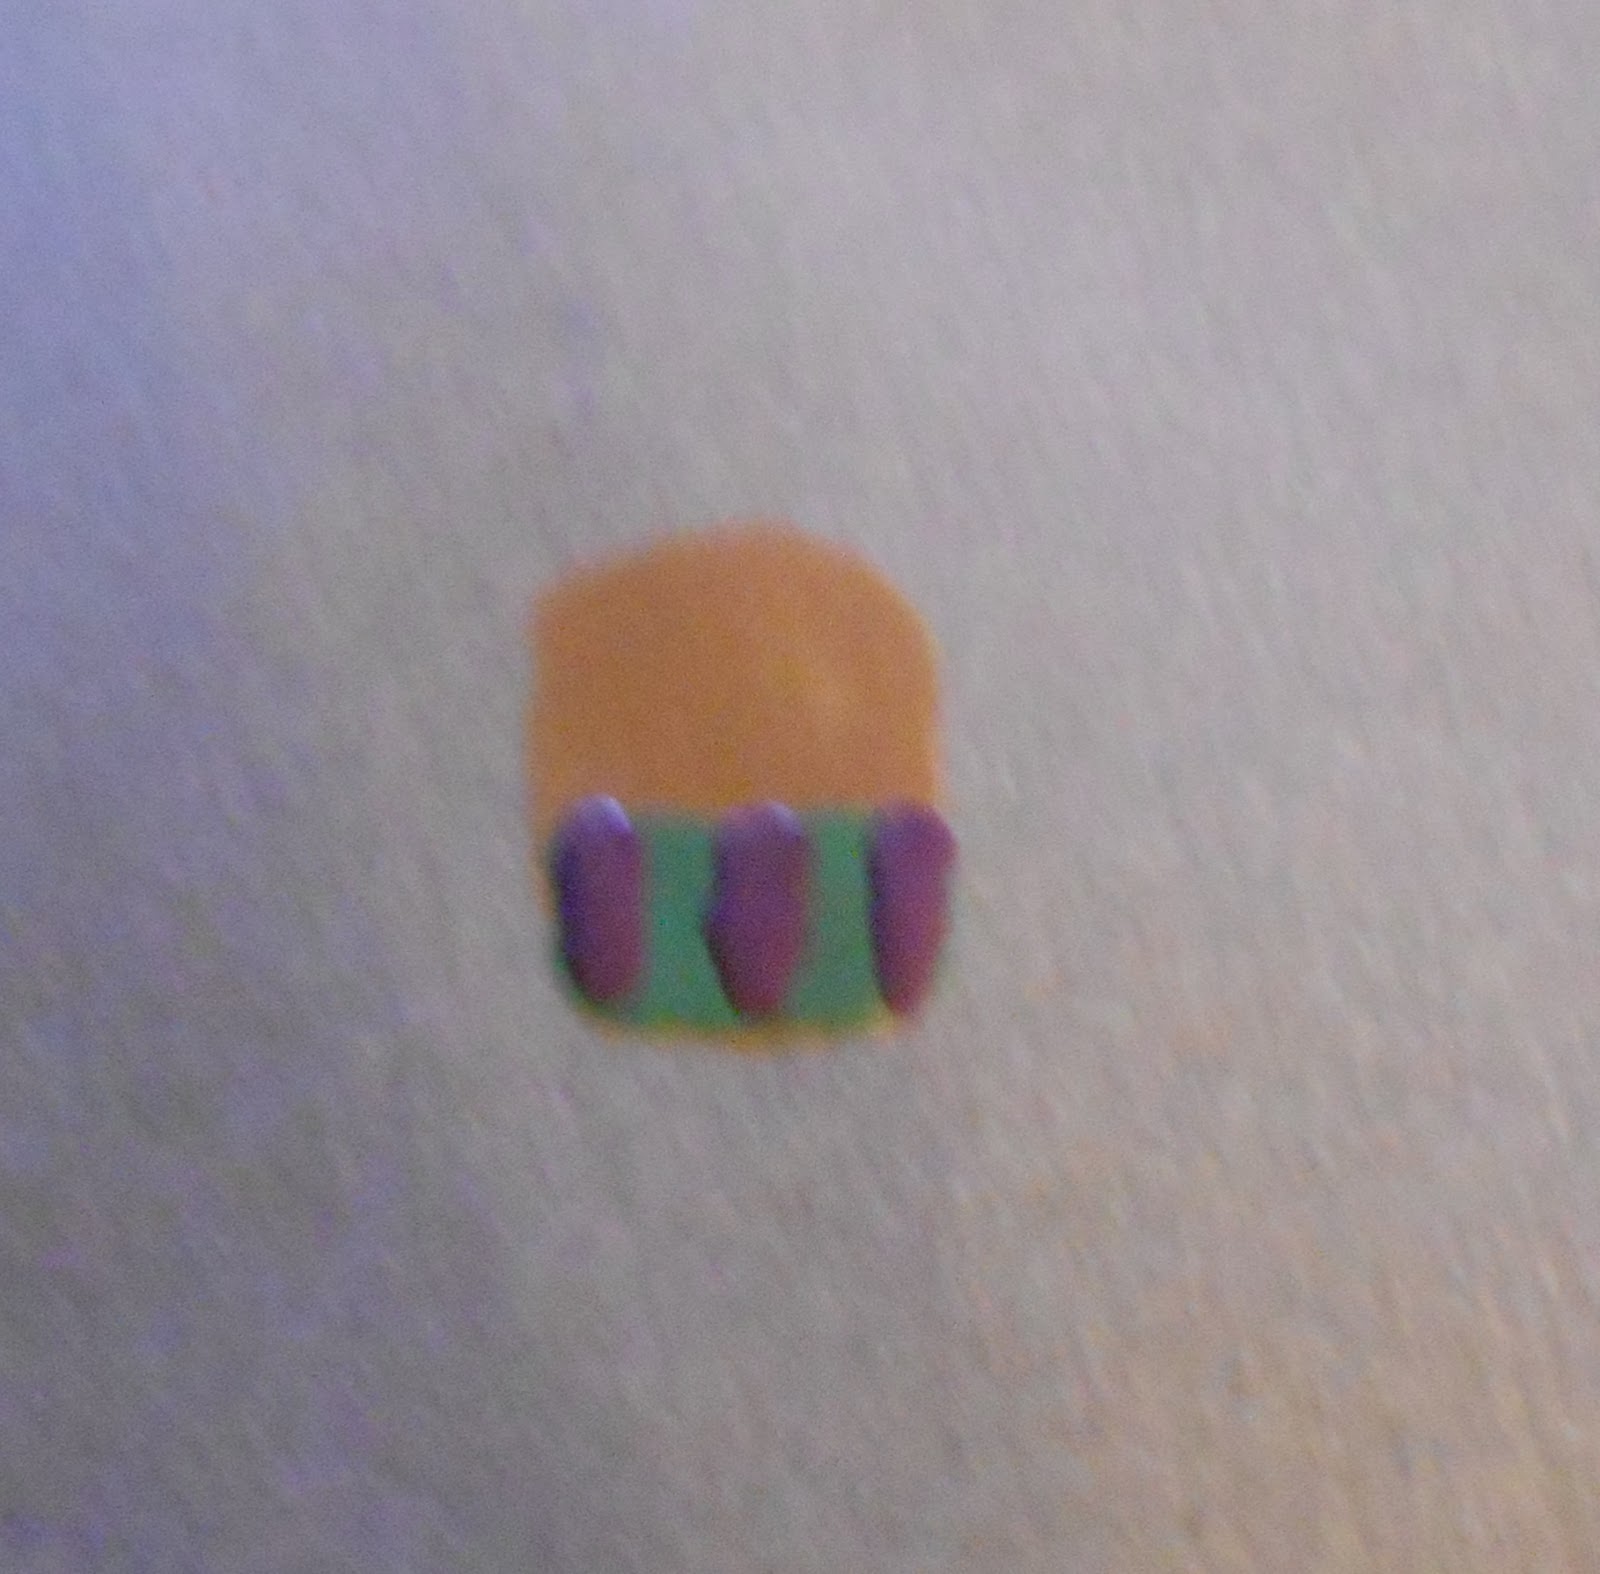
To try and show how it would look on a nail I actually painted a nail on my paper with some nude polish. I tried to make it about the size my fingernails normally are as well.
First step is to paint the bottom third of your nail one of your two colors. Try and keep the top edge straight, this is the base of the cupcake liner. Let it dry completely before you move onto the next step.
Now using your tool, paint three stripes on the liner, try and keep them as even as possible. Let this dry completely as well.
Again using your (clean) tool, paint a fluffy mountain on top of the liner for the frosting. Because I used a pearl color I did two coats of this. Let dry completely.
Now do a small dot of the red on top of the frosting, let dry, then top coat it. And you have a cutie pie cupcake manicure. Repeat on all fingers or just do an accent nail.
And now onto the extra fun stuff! Once a month, on the first Monday, I'm going to host a themed link up. Rules are simple, do a manicure based off the theme, add your link, link back to me, and check out some of the other blogs that participate. I'll eventually have a lovely little banner/button for it, but for right now just say you're participating in Best Beauty for my Buck's Monthly Themed Mani Monday and place a link. Hopefully the widget I'm using is clear on how to add your link, I'm pretty sure there's a little button on the bottom left of it for linking up. So good luck and I can't wait to see what everybody comes up with!


No comments:
Post a Comment