Now when I think of Halloween the first thing that comes to mind is jack-o-lanterns. Going to the pumpkin patch and carving pumpkins is a big tradition for my crew, it really signals the start of fall for us. So this week I'll show you how to do jack-o-lantern nails! This week I'm using some stunt nails, a student of mine from the Taekwondo school. So let's get started!

You will need:
- Orange nail polish
- Black nail polish
- Clear top coat
- dotting tool or very small paint brush
- A piece of paper
- Nail polish remover and q-tips to clean up your edges once done.

Orange has a habit of staining your nails so I suggest putting on a base coat of either an actual base coat or a clear coat before you start.

Next put on your orange coat, making sure it's nice and smooth and opaque. Like always let it dry completely before you move onto the next step.

I finally figured out that you can put a dollop of nail polish on a piece of paper and it won't soak through. Makes doing nail are so much easier. Plus you can practice a bit before you do it on your nails.

You are going to take your dotting tool and make two little triangles for your eyes. Make them small enough that you'll still have room for the mouth.

Now do three little dots in a line, these are the up knobs of the mouth. They don't have to be perfect, you can even them out when you connect the dots for the mouth.
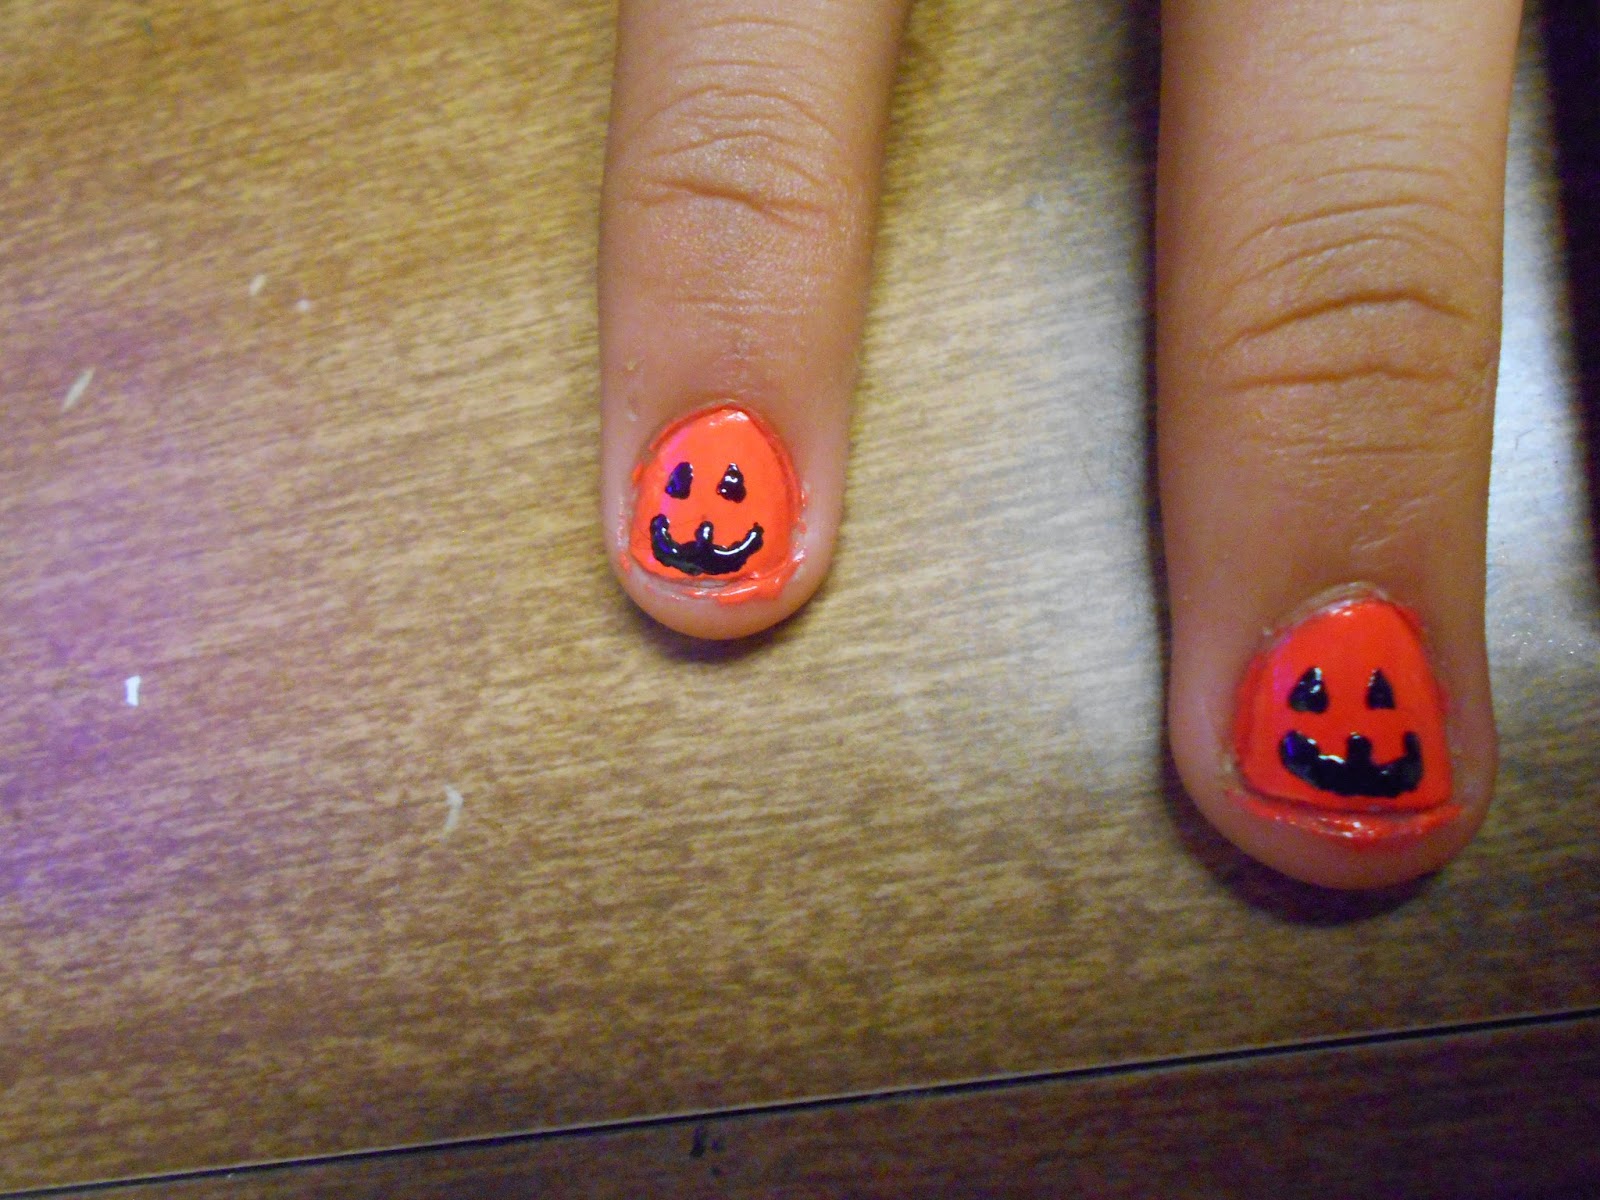
Now you are going to draw in the mouth under the dots to make the mouth. Give it a little bit of a curve, like you would if you were actually carving a pumpkin. And that's it. Do the same on all of your fingers, wait for it to dry, clean up the edges, and coat with top coat. Some nice and festive nails.

And now onto the extra fun stuff! Once a month, on the first Monday, I'm going to host a themed link up. Rules are simple, do a manicure based off the theme, add your link, link back to me, and check out some of the other blogs that participate. I'll eventually have a lovely little banner/button for it, but for right now just say you're participating in Best Beauty for my Buck's Monthly Themed Mani Monday and place a link. Hopefully the widget I'm using is clear on how to add your link, I'm pretty sure there's a little button on the bottom left of it for linking up. So good luck and I can't wait to see what everybody comes up with!
I really need to get some tools! I don't even have a dotting tool! I wonder if my daughter does, I will ask her about it. Always love seeing your posts though you are so creative and make it seem so easy! :)
ReplyDeleteThank you :). You can get a dotting tool from most art supply stores (In the painting section) or you can make your own with a sewing pin and a pencil with an eraser. Basically just cut the pin down and stick it in the eraser so you can easily handle it. And thank you again for the really nice compliment, I really appreciate that. :)
DeleteVery cute! I have to show this to my daughter. She is always trying some new nail art and I think she could do this. She has the tools and I believe she has a black nail pen too! Thanks for the tutorial! :)
ReplyDeleteTell her good luck, this is easier than it seems.
Delete