
Isn't this piece fabulous? I was instantly drawn to the fun retro pattern and bright color accent colors. Better yet, I had the perfect shade of lipstick sitting in my drawer, so creating a look based off of this. And this gave me the perfect excuse to finally do a full makeup tutorial, which is something I've been thinking about doing for about a month now.

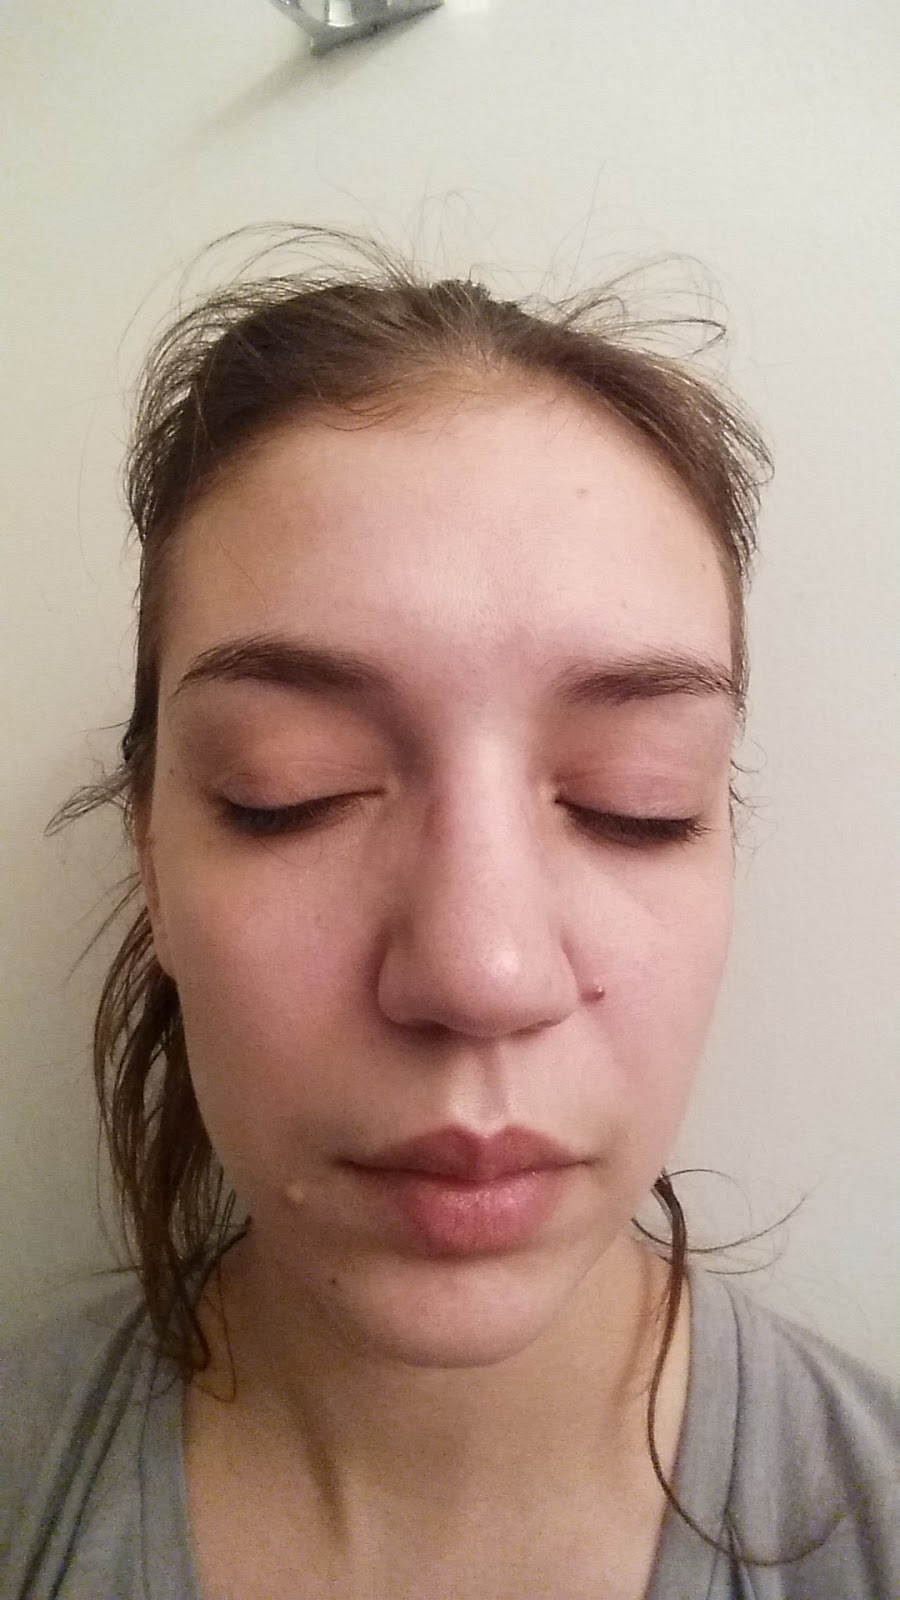
Start with a freshly cleaned face. I always tie my hair up before I do my makeup, but I have crazy long hair so it gets everywhere. I also always start with my eyes first, so I can clean up any fall out before I do my face stuff.
Prime your eyes from lid up to your brow bone. I used the Smashbox 24 Hour Photo Finish Shadow Primer.

Take a light colored matte shade, apply it from your crease up to about the halfway point between the crease and your brows. I used the light matte pink shade from my Revealed 2 palette.

Now take a shimmery peach shade and apply it over your entire lid, making sure to blend any harsh lines that may form. I used the third from the left on the top row of my Revealed 2 palette, a nice peachy pink shade.

Now take a shimmery mocha shade and lightly apply it to your crease and the outer corners of your eyes. Blend, blend, blend, you want no harsh lines at all. Once the crease is where you want it apply a bit more shadow to the outer corner of your eye to increase the intensity of the look. I used the fourth from the left on the bottom row of my Revealed 2 palette, which is a purplish mocha shade.

Lastly, apply a highlighting shade along your brow bone and to the inner corners of your eyes. I used a shimmery light gold shade from the Revealed 2 palette.

Now you are going to lightly apply a brown pencil liner along your bottom lashes for some added sultry intensity. Don't go to heavy here, just enough to make your lower lashes look fuller. I used a Pacifica pencil.

And now for that retro flare, apply a nice winged eyeliner. I find it easiest to do a thin line along my lid, then draw my wing from the tip in (lining the angle up with my bottom lash line). Next I draw from the tip into my top lash line, which I will then thicken up a bit to match the wing. I prefer felt tip pen style liquid eyeliners, like the Eyeko Skinny Liquid Liner, but use whatever you are most comfortable using. Remember, winged eyeliner takes practice and patience, so don't get frustrated if it doesn't come out just right.

Apply your falsies if you wear them (I don't), then top with your favorite black mascara. I did 2 coats of Smashbox Full Exposure on both my top and bottom lashes.

The next step is optional, but I feel that a well done brow can really elevate a look up. Wax and powder topped with a brow gel is my current favorite way to do my lashes, using the ELF eyebrow kit and the Anastasia Beverly Hills clear brow gel.

Face primer is next, and I'm a firm believer in a really good primer to help smooth out your pores and help your foundation apply smoothly. I'm currently testing out the Smashbox Photo Finish primer.

Dot your concealer of choice under your eyes, over your brows, and onto any blemishes or spots. I prefer a brush to smooth my concealer out, and your goal is to clean up any mess under your eyes (and dark circles) and even up any mistakes along the tops of your brows. This can also help hide any brow hairs you may have outside of your brow shape.

Now your foundation and/or powder of choice. I applied a Maybelline BB Cream with a Blender sponge then my Rimmel Stay Matte powder with a large, dense, brush and buffed it all in to give my skin an airbrushed look.

Our color theme is coral, so apply a nice coral colored blush to the apples of your cheeks lightly, blending out along your cheek bone. If you like to do some contouring, do some light powder contouring here. I used an ELF Contouring Blush and Bronzer combo called St Lucia. Then highlight along your cheek bones, nose, cupid's bow, and forehead (lightly, no disco balls please). I used another ELF product, this time the baked highlighter in the shade Moonlight Pearl.

Lastly is the cherry on my makeup sundae, a bright and flirty coral shade by NYX called Rose.

Add some sexy hair, slip into your new bikini, and you are ready to light that party up! I hope you guys enjoyed this tutorial as much as I enjoyed creating it for you. If you want to purchase the bikini that inspired this look, you can find it here. And stay tuned for some more Adore Me collaborations over the next week or so.
No comments:
Post a Comment