
I'm sure most of you have heard of Jamberry by now, some of you probably sell them or know someone who sells them. I received a set for Christmas so I thought I'd walk you through applying them and give my honest opinion on them. For those who haven't heard of them, Jamberry is a company that sells what are essentially nail stickers through consultants (think Mary Kay but for nails), though they also offer a monthly subscription service that sends two sheets to your house every month. Jamberry is definitely on the top of the price scale, with each sheet costing you $15. Granted, you can do two full manicures from each sheet and they are SUPPOSE to last quite a bit longer than a manicure (more on that later), so it kind of works out. The website boasts over 300 different wrap designs as well as the ability to create your own design, so for those who want a fancy design but either don't have the skill or the patience to do fancy nail art these can be a great option.

I received one of their special winter designs, and they are super cute I will give them that. As you can see there are a lot of options for sizes, though they mainly lean towards the bigger end of the spectrum. I have thin fingers which means thin nails so I used the five smallest. I think the biggest one is the right size to do a my big toe, I may test that out later.
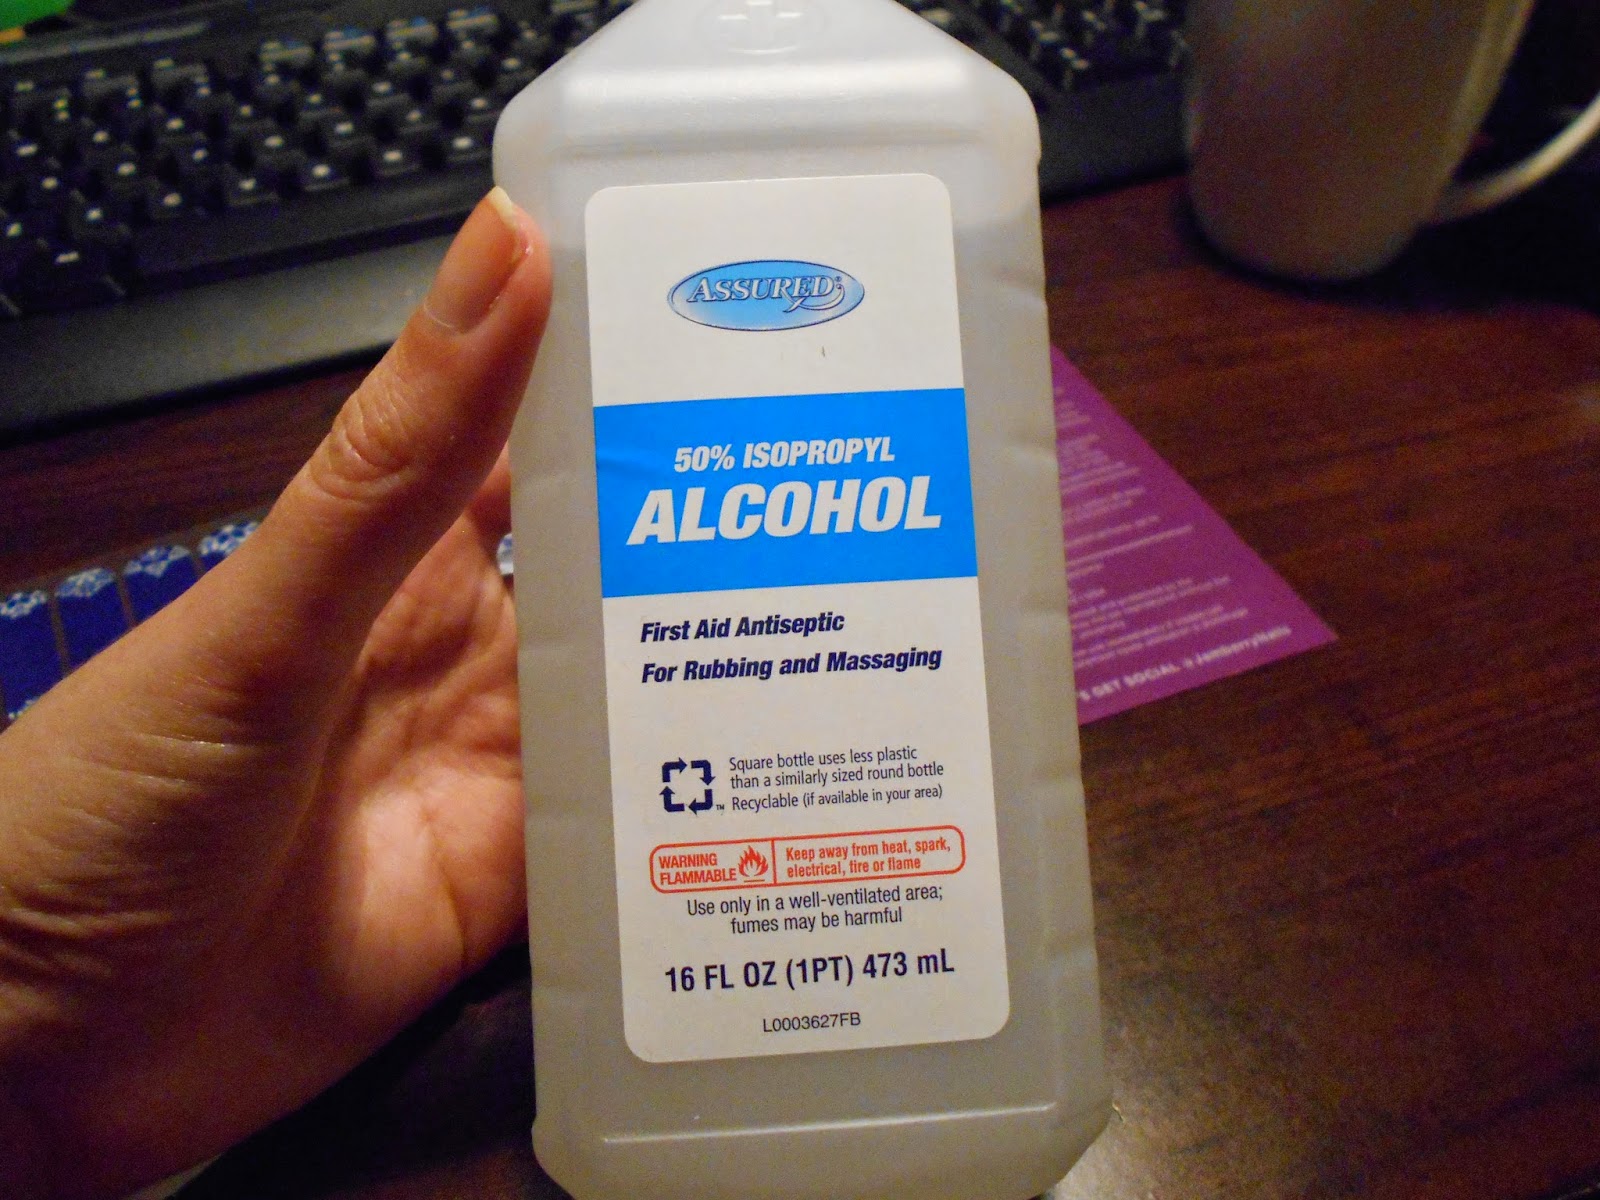
Step one is (obviously) to remove any nail polish you have one. Then, and this is important, use rubbing alcohol on all your nails. This does two things. One, it dries the nail out so the decal will stick to it better and longer. And secondly, it kills any bacteria that might be on your nail. I've read horror stories of people taking their jams off only to discover a raging infection going on. So swab them well is my advice. I've actually applied Jamberry wraps before (an accent nail only), and I did notice a weird smell by day four so this time I'm really cleaning my nails well.

Step two is to pick out a wrap that fits your nail. The backing is clear so that makes sizing a little bit easier. If you can't find an exact match they recommend you go smaller than bigger. If it is to big it will peel up quicker.For the most part I was able to size them ok enough, though I did have to take an x-acto knife to my index finger to cut off some excess material.

Using a tool, peel up half the sticker and cut it. This way you can use the other half on your second hand. Try to only touch the adhesive with the tool, the oils from your hand will affect the adhesive. Now here is where these differ from most nail stickers on the market. These have to be heat cured with either a small heater or a hair dryer. I used my hair dryer and heated this till it was soft and pliable.

Carefully apply it to your nail, try to get it in place on the first go. Then using your finger or a hard tool, smooth the wrap down, focusing on the edges and smoothing out any wrinkles. This can go two ways, and it all depends on the shape of your nail. I have nails that are nice and smooth and those the wrap applied just fine to with hardly a wrinkle. Then I have a few nails where the tip has a weird curve to it. Those I could not get smooth to save my life. And flat edged nails are waaaay easier to smooth down that oval shaped nails, just to give you a heads up.

Use some scissors to trim off most of the excess. Then, use a file at a 90 degree angle to the nail to file off whatever is left. You want it even with the tip of your nail, making sure to file in a downward motion.

Now you are going to apply heat again to the nail, to help smooth it down and bond it to the nail. I used my hair dryer again and basically blasted it till the skin started to hurt. Then I applied pressure with my finger and smoothed it out again. Repeat with all of your nails and you are done.

So what did I think of them? Well, that's a complicated answer. On one hand, they're a neat item and I like the variety they offer. They can last longer than traditional nail polish, but I've had polish last for a whole week before it started to look crappy so it isn't a straight "these last longer". Where I start to become a cranky person is the actual application process. Last time I did these they only lasted 4 days before they were super peeled up and needed to be removed (in addition to the weird smell). Every consultant has a handful of tips and tricks to help you apply them and help them last, but I shouldn't need a "hack" to make a product work as it is intended to.
The application process takes forever, I actually timed myself doing a nail and it took me over three and a half minutes. That's one nail. I could MAYBE shave off a few seconds with repeated practice, but not enough to really make a difference. That means that from start to finish it will take you about thirty-five minutes to do both hands. I do nail art often enough that I could do a fancy design in that same amount of time, so for me this doesn't save any time.
The heat curing is also a negative point for me, since the last ones I applied didn't last any longer than non-heat cured ones. The heat did make them easier to apply, but they are much thicker than any other sticker I've tried so they need the heat to make them flexible.
Overall, I don't hate them, but I also don't like them and won't be purchasing any. Obviously some people love them, they seem to be a successful business right now. Whether or not they stay successful will be interesting to see. And who knows, this application may last forever and change my mind. I'll update you guys in this week's Thursday Thoughts on how they are doing and how I took them off if I did remove them. Not actually looking forward to the removal, last time they shredded my nails so fingers crossed it goes better this time. Are you a Jam fan? If so, what do you like about them over just painting your nails?
I'm just not a huge Jamberry fan - I find taking them off the worst, tears up your nails. I hope this doesn't happen to you!
ReplyDeleteI have recently tried Scratch nail wraps (they have a monthly mani box too) and they went on quick and are the only wraps I have seen that you take off with polish remover instead of peeling and I loved it!
Renee C.
seetheworldinpink.blogspot.ca
Never even heard of those, I'll have to look into them. And I'm anticipating these destroying my nails when I remove them.
DeleteHere is their website:
Deletehttp://www.goscratchit.com/
I love that they remove like nail polish (maybe just a personal preference!)
Renee C.
seetheworldinpink.blogspot.ca
Yeah, peeling them and half my nail off sucks so I'm super intrigued by the nail polish removal option. Thanks for sharing!
Delete